Deploy Models and Integrate TVM
This page contains guidelines on how to deploy TVM to various platforms as well as how to integrate it with your project.

Build the TVM runtime library
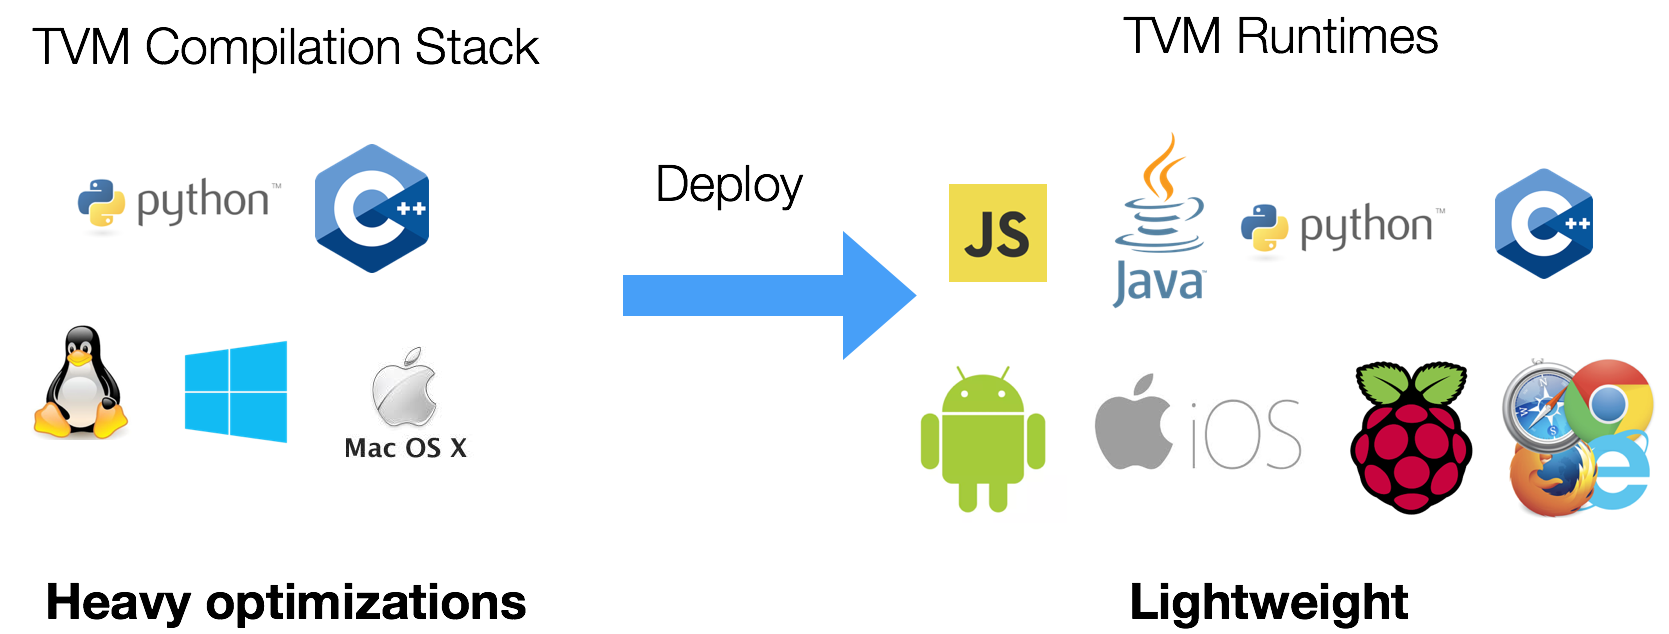
Unlike traditional deep learning frameworks. TVM stack is divided into two major components:
TVM compiler, which does all the compilation and optimizations of the model
TVM runtime, which runs on the target devices.
In order to integrate the compiled module, we do not need to build entire TVM on the target device. You only need to build the TVM compiler stack on your desktop and use that to cross-compile modules that are deployed on the target device.
We only need to use a light-weight runtime API that can be integrated into various platforms.
For example, you can run the following commands to build the runtime API on a Linux based embedded system such as Raspberry Pi:
git clone --recursive https://github.com/apache/tvm tvm
cd tvm
mkdir build
cp cmake/config.cmake build
cd build
cmake ..
make runtime
Note that we type make runtime to only build the runtime library.
It is also possible to cross compile the runtime. Cross compiling the runtime library should not be confused with cross compiling models for embedded devices.
If you want to include additional runtime such as OpenCL,
you can modify config.cmake to enable these options.
After you get the TVM runtime library, you can link the compiled library

A model (optimized or not by TVM) can be cross compiled by TVM for
different architectures such as aarch64 on a x64_64 host. Once the model
is cross compiled it is necessary to have a runtime compatible with the target
architecture to be able to run the cross compiled model.
Cross compile the TVM runtime for other architectures
In the example above the runtime library was
compiled on a Raspberry Pi. Producing the runtime library can be done much faster on
hosts that have high performace processors with ample resources (such as laptops, workstation)
compared to a target devices such as a Raspberry Pi. In-order to cross compile the runtime the toolchain
for the target device must be installed. After installing the correct toolchain,
the main difference compared to compiling natively is to pass some additional command
line argument to cmake that specify a toolchain to be used. For reference
building the TVM runtime library on a modern laptop (using 8 threads) for aarch64
takes around 20 seconds vs ~10 min to build the runtime on a Raspberry Pi 4.
cross-compile for aarch64
sudo apt-get update
sudo apt-get install gcc-aarch64-linux-gnu g++-aarch64-linux-gnu
cmake .. \
    -DCMAKE_SYSTEM_NAME=Linux \
    -DCMAKE_SYSTEM_VERSION=1 \
    -DCMAKE_C_COMPILER=/usr/bin/aarch64-linux-gnu-gcc \
    -DCMAKE_CXX_COMPILER=/usr/bin/aarch64-linux-gnu-g++ \
    -DCMAKE_FIND_ROOT_PATH=/usr/aarch64-linux-gnu \
    -DCMAKE_FIND_ROOT_PATH_MODE_PROGRAM=NEVER \
    -DCMAKE_FIND_ROOT_PATH_MODE_LIBRARY=ONLY \
    -DMACHINE_NAME=aarch64-linux-gnu

make -j$(nproc) runtime
For bare metal ARM devices the following toolchain is quite handy to install instead of gcc-aarch64-linux-*
sudo apt-get install gcc-multilib-arm-linux-gnueabihf g++-multilib-arm-linux-gnueabihf
cross-compile for RISC-V
sudo apt-get update
sudo apt-get install gcc-riscv64-linux-gnu g++-riscv64-linux-gnu
cmake .. \
    -DCMAKE_SYSTEM_NAME=Linux \
    -DCMAKE_SYSTEM_VERSION=1 \
    -DCMAKE_C_COMPILER=/usr/bin/riscv64-linux-gnu-gcc \
    -DCMAKE_CXX_COMPILER=/usr/bin/riscv64-linux-gnu-g++ \
    -DCMAKE_FIND_ROOT_PATH=/usr/riscv64-linux-gnu \
    -DCMAKE_FIND_ROOT_PATH_MODE_PROGRAM=NEVER \
    -DCMAKE_FIND_ROOT_PATH_MODE_LIBRARY=ONLY \
    -DMACHINE_NAME=riscv64-linux-gnu

make -j$(nproc) runtime
The file command can be used to query the architecture of the produced runtime.
file libtvm_runtime.so
libtvm_runtime.so: ELF 64-bit LSB shared object, UCB RISC-V, version 1 (GNU/Linux), dynamically linked, BuildID[sha1]=e9ak845b3d7f2c126dab53632aea8e012d89477e, not stripped
Optimize and tune models for target devices
The easiest and recommended way to test, tune and benchmark TVM kernels on embedded devices is through TVM’s RPC API. Here are the links to the related tutorials.
Deploy optimized model on target devices
After you finished tuning and benchmarking, you might need to deploy the model on the target device without relying on RPC. See the following resources on how to do so.
- Deploy TVM Module using C++ API
- Deploy to Android
- Deploy to Adreno™ GPU
- Integrate TVM into Your Project
- HLS Backend Example
- Relay Arm® Compute Library Integration
- Relay TensorRT Integration
- Vitis AI Integration
- Relay BNNS Integration
- Marvell Machine Learning Integration
- 1. Introduction
- 2. Building TVM with mrvl support
- 2.1 Clone TVM repo
- 2.2 Build and start the TVM - mrvl docker container
- 3. Compiling a model using TVMC command line
- 3.1 TVMC Compilation Flow for a model
- 3.2. TVMC - Command line option(s): Syntax for mrvl target
- 3.3. TVMC Compiler: mrvl specific Command Line Options
- 4. Compile ONNX model using the TVMC flow
- 4.1 Compile and Run ONNX model for Simulator + LLVM / x86_64 target
- 4.2 Compile and Run ONNX model for Octeon target
- 5. Compiling a model using Python APIs
Additional Deployment How-Tos
We have also developed a number of how-tos targeting specific devices, with working Python code that can be viewed in a Jupyter notebook. These how-tos describe how to prepare and deploy models to many of the supported backends.
